Public Cloud - Azure
Setup
We will be using a virtual machine in the faculty's cloud.
When creating a virtual machine in the Launch Instance window:
- Name your VM using the following convention:
cc_lab<no>_<username>, where<no>is the lab number and<username>is your institutional account. - Select Boot from image in Instance Boot Source section
- Select CC 2024-2025 in Image Name section
- Select the m1.xlarge flavor.
In the base virtual machine:
- Download the laboratory archive from here.
Use:
wget https://repository.grid.pub.ro/cs/cc/laboratoare/lab-azure.zipto download the archive. - Extract the archive.
- Run the setup script
bash lab-azure.sh.
$ # download the archive
$ wget https://repository.grid.pub.ro/cs/cc/laboratoare/lab-azure.zip
$ unzip lab-azure.zip
$ # run setup script; it may take a while
$ bash lab-azure.sh
Creating an Azure for Students Account
-
Access the Azure for Students Offer
- Step 1: Go to aka.ms/azureforstudents.
- Step 2: Click on "Start Free" to begin the registration process.
- Step 3: Sign in with your school email address - e.g.
mihai.popescu@stud.acs.upb.ro.
-
Academic Verification
- Step 4: Enter your name as per the school records - e.g.
Mihai-Vlad POPESCU. - Step 5: Select your school's country and enter your school's name -
RomaniaandFacultatea de Automatică și Calculatoare (Bucharest). - Step 6: Enter your date of birth as per the school records - e.g
01.01.2000. - Step 7: Enter your school email address - e.g.
mihai.popescu@stud.acs.upb.ro.
- Step 4: Enter your name as per the school records - e.g.
-
Profile Information
- Step 8: Fill in your profile information including country/region, first name, last name, email address, phone number, and address.
- Step 9: Enable multi-factor authentication.
-
Microsoft Authenticator Configuration
- Step 9: Download and install the
Microsoft Authenticatorapp on your mobile device. - Step 10: Open the app and scan the QR code provided on the Azure portal.
- Step 11: If you can't scan the QR code, manually enter the code and URL provided.
- Step 9: Download and install the
-
Verification and Final Steps
- Step 12: Check your school email for any verification notifications from Microsoft Azure.
- Step 13: Verify your account using the Microsoft Authenticator app.
-
Accessing Azure Credits
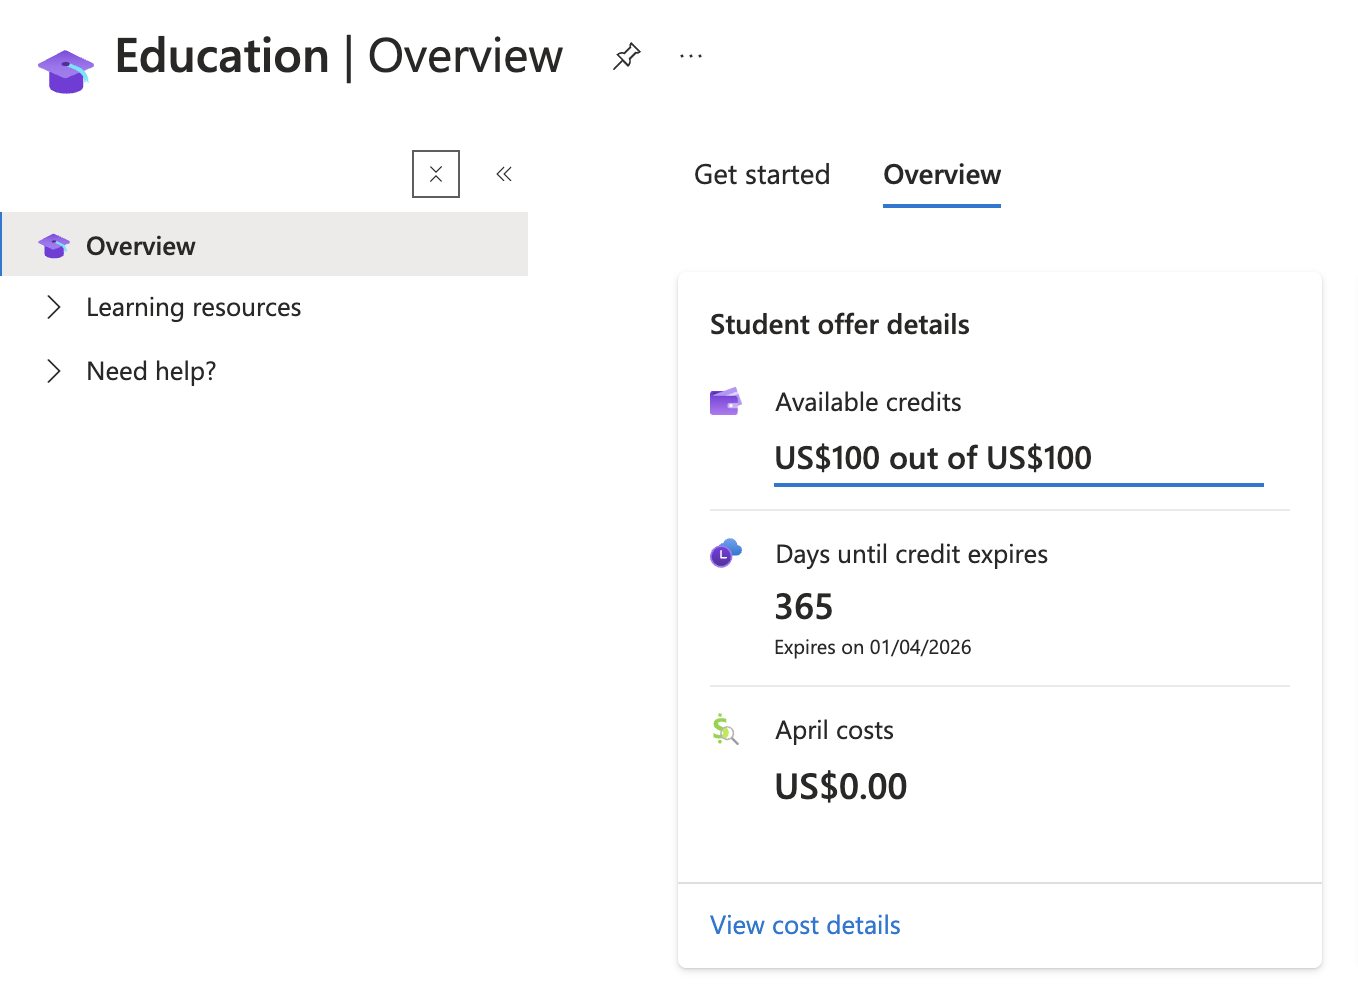
- Step 14: Once verified, you should see your available Azure credits and free services.
Azure CLI
You are going to use the Azure cloud platform to deploy applications to a public cloud.
To interact with Azure, you will use the Azure CLI - a command-line tool that allows you to manage Azure resources and services from the command line.
The CLI command is:
student@cc-lab:~$ az
az is installed in the base virtual machine by running the setup script lab-azure.sh.
You can check the installation by running the following command in the terminal:
student@cc-lab:~$ az --version
If you want to install Azure CLI on your computers, follow the installation link from here.
Azure CLI - Login
To use the Azure CLI, you need to log in to your Azure account. You can do this by running the following command:
student@cc-lab:~$ az login
This will open a web browser where you can enter your Azure credentials. After logging in, you will see a list of your Azure subscriptions.
Hit Enter to select the default subscription and tenant.
student@cc-lab:~$ az login
To sign in, use a web browser to open the page https://microsoft.com/devicelogin and enter the code 1234567 to authenticate.

Retrieving tenants and subscriptions for the selection...

[Tenant and subscription selection]

No     Subscription name    Subscription ID                       Tenant
-----  -------------------  ------------------------------------  -----------------------------------
[1] *  Azure for Students   efe9e9a7-5898-47b0-9743-123456789012  Universitatea Politehnica Bucuresti

The default is marked with an *; the default tenant is 'Universitatea Politehnica Bucuresti' and subscription is 'Azure for Students' (efe9e9a7-5898-47b0-9743-123456789012 ).

Select a subscription and tenant (Type a number or Enter for no changes):

Tenant: Universitatea Politehnica Bucuresti
Subscription: Azure for Students (efe9e9a7-5898-47b0-9743-123456789012 )

If you encounter any problem, please open an issue at https://aka.ms/azclibug

[Warning] The login output has been updated. Please be aware that it no longer displays the full list of available subscriptions by default.
To list your tenants and subscriptions, you can use the following command:
student@cc-lab:~$ az account list
Azure CLI - Help
To get help on the Azure CLI commands, you can use the --help option. For example, to get help on the az login command, you can run:
student@cc-lab:~$ az --help
student@cc-lab:~$ az account --help
Notes and recommendations
- There are commands that might take a while to run like
az create aksoraz aks nodepool add. Be patient and wait for them to finish. - Some commands may yield errors. Read the error messages carefully because they contain links to troubleshooting documentation.
- Some steps are optional, other steps require prerequisites - read the notes and instructions from the tutorial carefully.
Deploy a containerized application on Azure Kubernetes Service
Follow the following tutorial - Deploy a containerized application on Azure Kubernetes Service - to deploy a containerized application on Azure Kubernetes Service (AKS) using the Azure CLI.
You can run commands in the background by adding & at the end of the command. Use nohup and redirect the output to a file if you want to run the command in the background and keep it running even after you log out of the shell.
nohup az aks create ...... > aks_create.log 2>&1 &
You can either work in the Azure Cloud Shell where az is installed or use the az in the OpenStack VM.
This tutorial is meant to be run in Azure Cloud Shell.
AKS resource provider registration
If you are receiving an error with this message The subscription is not registered to use namespace 'Microsoft.ContainerService', it means that the Azure Resource Provider responsible for AKS (Azure Kubernetes Service) is not registered in your subscription.
To resolve this, run:
az provider register --namespace Microsoft.ContainerService
Check the Troubleshooting Documentation for more details.
List Azure regions
To list available regions:
az account list-locations --query "[].{Region: name}" -o table
AKS Quotas
Quotas are limits on the number of resources you can create in your Azure subscription. The quotas for AKS are based on the region where you create the AKS cluster and the type of resources you use.
You can check your quotas in the Azure portal search for Quotas and select Compute. For an Education subscription, the quotas are usually set to 4 cores per VM family per region. This means you can use a maximum of 4 cores (vCPUs) for each VM family in the region where you create the AKS cluster.
By default, the AKS cluster is created with a default node pool using the Standard_DS2_v2 VM size and 3 nodes.
To create a cluster with a different VM size, you can use the --node-vm-size parameter. The VM size can be consulted here.
To change the number of nodes in the default node pool, you can use the --node-count parameter.
The command az aks create creates an Azure Kubernetes Service (AKS) cluster:
--resource-group: The name of the resource group that contains the AKS cluster.--name: The name of the AKS cluster.--node-count: The number of nodes in the default node pool.--node-vm-size: The size of the VMs in the default node pool.
az aks create \
    --resource-group $RESOURCE_GROUP \
    --name $CLUSTER_NAME \
    --node-count 1 \
    --generate-ssh-keys \
    --node-vm-size Standard_B2s \
    --network-plugin azure
The command az aks nodepool add creates a new node pool in an existing AKS cluster:
--resource-group: The name of the resource group that contains the AKS cluster.--cluster-name: The name of the AKS cluster.--name: The name of the new node pool.--node-count: The number of nodes in the new node pool.--node-vm-size: The size of the VMs in the new node pool.
az aks nodepool add \
    --resource-group $RESOURCE_GROUP \
    --cluster-name $CLUSTER_NAME \
    --name userpool \
    --node-count 2 \
    --node-vm-size Standard_B1s
To list the node pools in an AKS cluster, you can use the az aks nodepool list command:
az aks nodepool list \
    --resource-group $RESOURCE_GROUP  \
    --cluster-name $CLUSTER_NAME  \
    --query "[].{name:name, vmSize:vmSize, nodeCount:count}" -o table
To delete an AKS cluster, you can use the az aks delete command:
az aks delete \
    --resource-group $RESOURCE_GROUP \
    --name $CLUSTER_NAME \
    --yes \
    --no-wait
Containerize and deploy a Java app to Azure
Follow this tutorial - Containerize and deploy a Java app to Azure - to containerize and deploy a Java app to Azure using the Azure CLI.
To forward the port of the OpenStack VM to your local machine, you can use a jump host and port forwarding SSH command. This will allow you access http://localhost:8080 from your local machine.
You have to configure the SSH jump host fep in your ~/.ssh/config file as explained in this tutorial.
ssh -J fep -L 8080:127.0.0.1:8080 -i ~/.ssh/id_fep student@10.9.X.Y
You can either work in the Azure Cloud Shell where az is installed or use the az in the OpenStack VM.
This tutorial is meant to be run in OpenStack VM because it requires docker installed.